-
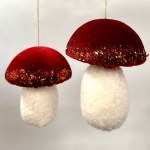
mushroom ornaments

I can’t believe it’s that time of year again—wow! It seriously feels like just last month we were still sporting our summer clothes and enjoying all the fun stuff like sandwiches and ice cream at the beach!! And now, out of nowhere, the trees are nearly bare, and it’s time for cozy tea by the…
-
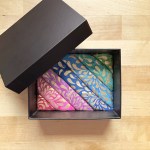
upcycled box
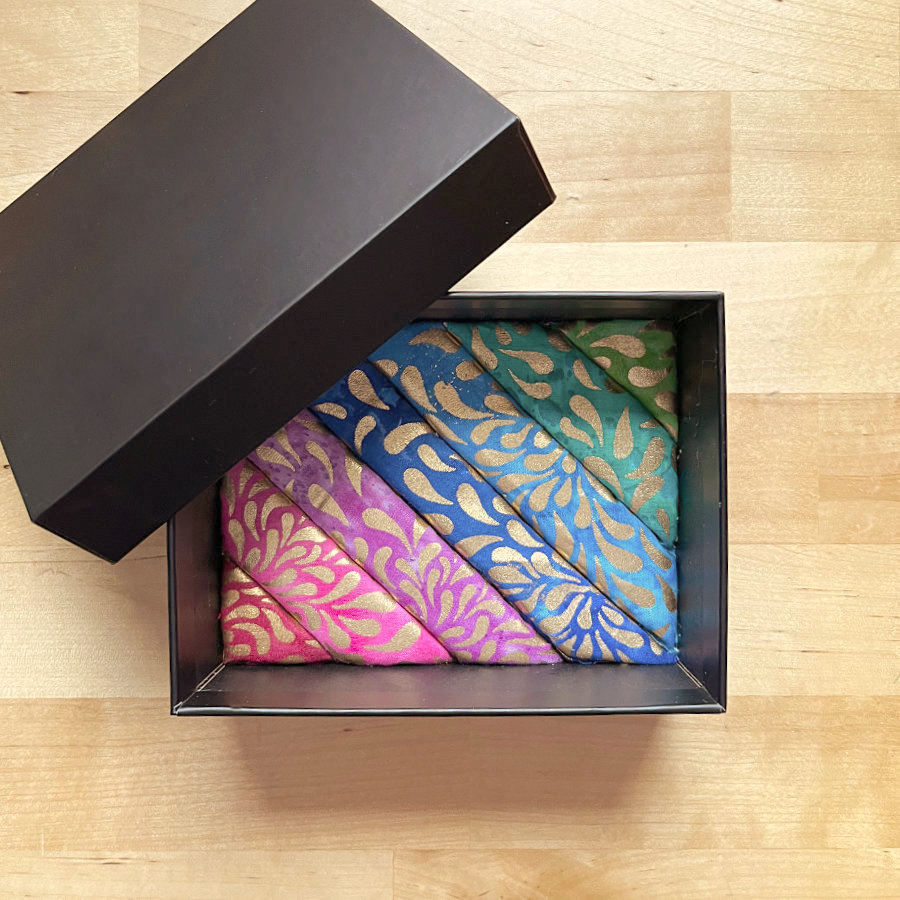
Do you ever hang on to stuff because it’s just too pretty to toss, even if you have no clue what to do with it? I totally do! I’ve got this little pile of boxes in my craft room that I can’t bear to throw away. Plus, I’ve started collecting other random materials that I…
-
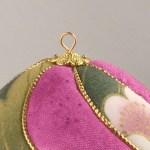
pleated ornaments

There’s been a lot going on in my life lately, but now things have calmed down and I can finally share my latest experiment with you: pleated ornaments! I’m sure most of you are familiar with quilted ornaments – you know, the ones where you fold small pieces of fabric and pin them down onto…

hello and welcome!
I am Susanne. From the moment I crafted my first fabric ornament, I have been on a mission to share the joy and excitement of kimekomi – along with my many other crafty adventures. Come along with me on this creative journey and experience the magic for yourself!
Stay in the loop by subscribing to my newsletter ✉️